How to Install & Use ArduPilot Mission Planner on Windows & Mac
This blog post is part of the documentation knowledge base for the Elara Aerospace team.
What is ArduPilot Mission Planner?
ArduPilot Mission Planner is the official Ground Control Station (GCS) application for ArduPilot, used to configure, manage, and control drone autopilots.
Windows Installation
Parallels Desktop Installation
- Download Parallels Desktop from the official website.
- Open the downloaded
.dmgfile and drag the Parallels Desktop icon into your Applications folder. - Launch Parallels Desktop and follow the on-screen instructions to complete installation.
- Use “File > New” to begin setting up a Windows virtual machine. Load your Windows installer (DVD, ISO, or USB), follow the prompts, and let the installer complete.
VirtualBox Installation
- Download VirtualBox from the official VirtualBox website.
- Open the
.dmgfile and double-clickVirtualBox.pkgto start installation. - Go through the installer wizard, authorize the installation with your Mac password, and finish setup.
- Launch VirtualBox from the Applications folder, then click “New” to create a new virtual machine and follow the steps to install Windows.
Installing Your Windows Program
- Once Windows is running in your chosen virtual machine, download and run your Windows program as you would on a real PC.
-
Download Installer Visit the Mission Planner download page and download the latest
.msiinstaller. -
Run the Installer Double-click the downloaded
.msifile. Follow the on-screen prompts to begin installation -
Driver Installation If prompted to install drivers (such as USB or telemetry hardware), click “Install this driver software anyway”
-
Complete Setup Mission Planner will be installed in
C:\Program Files (x86)\Mission Plannerby default and a Start Menu shortcut will be created -
Launch Mission Planner Open the application via the Start Menu or Desktop icon. Connect your vehicle via USB or telemetry, select the correct COM port, and configure your autopilot
macOS Installation
Mission Planner is not natively available for macOS. You can run it using the Mono framework, or use APM Planner as a native alternative.
Using Mono
-
Install Mono Download Mono from mono-project.com and install it on your Mac
-
Download Mission Planner Download the Mission Planner
.zipfrom the official ArduPilot site -
Extract & Run Extract the contents, open Terminal, navigate to the Mission Planner directory, and run:
1
mono MissionPlanner.exe
Some features may be limited using this method
Using APM Planner (Native macOS Option)
-
Download APM Planner Get the latest
.dmginstaller for APM Planner from the official site -
Install Drag the APM Planner app into your Applications folder and open it to start configuration and telemetry tasks
Post-Installation Steps
- Connect autopilot board to your computer (Pixhawk or similar) via USB
- Select the correct COM port and Baud rate (typically
115200) - Install firmware using the “SETUP / Install Firmware” section in Mission Planner
- Save parameters before updating firmware to avoid loss of configuration
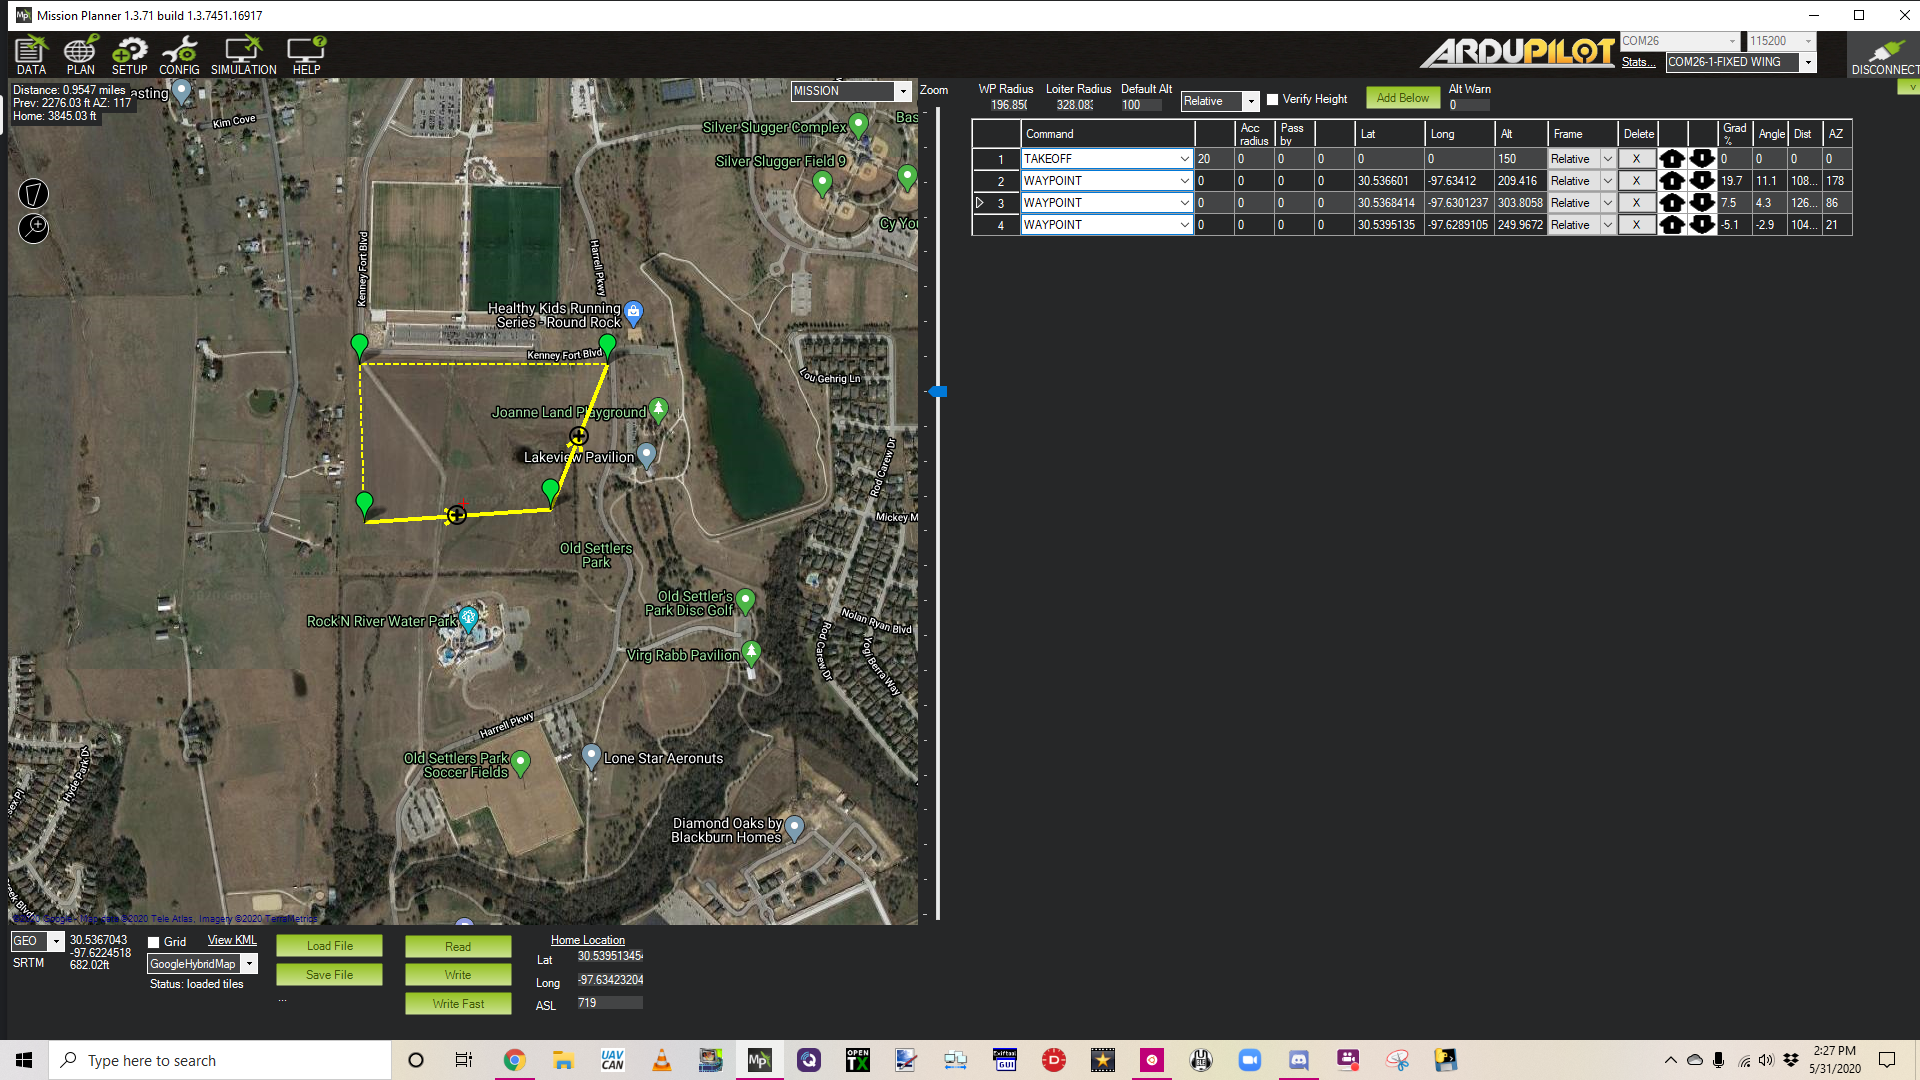
Using Mission Planner
Tips
- Mission Planner automatically checks for updates if connected to the Internet
- For Linux/UNIX systems, follow similar Mono-based installation instructions as for macOS
- Always use the latest stable release for best compatibility and security
External Resources
- Ardupilot.org - Official Installation Guide
- Install ArduPilot Mission Planner on macOS
- Install ArduPilot with Mono
- Install APM Planner on macOS
- Running Mission Planner on Linux
- Advanced Installation Guide
- Installing APM Planner on Linux Ubuntu
- Initial Setup fo Mission Planner
Give some love to the authors
Suggestions for improvement? Feel free to send us your feedback via email.
Donate to both authors with Bitcoin Lightning: